Fix a document photo: the light is estimated — then divided out
The direct answer: a shadow on a photographed page is uneven light, so the fix estimates the illumination across the page and divides it out — the shadow lifts, the paper returns to white, and ink and coloured stamps survive because they were never the light. A global brightness slider cannot do this: it brightens the shadow and the lit page alike, washing out one to save the other. Fix Photo & Document is one tool with three modes: Document (the scan look — light levelled, background white, text dark and sharp), Photo (an HDR-style enhancement for pictures), and Remove (brush over an object, a scratch, a thumb in the corner, and the patch is filled from the picture around it) — each at Light, Normal or Strong strength, always computed from your original picture, so trying another strength never stacks corrections. The honesty note is load-bearing and stated on the page: enhancement redistributes the information a capture holds; it cannot invent detail a blur destroyed. This article walks the three mechanisms and their limits.
 By the PDFJadoo Team6 min read
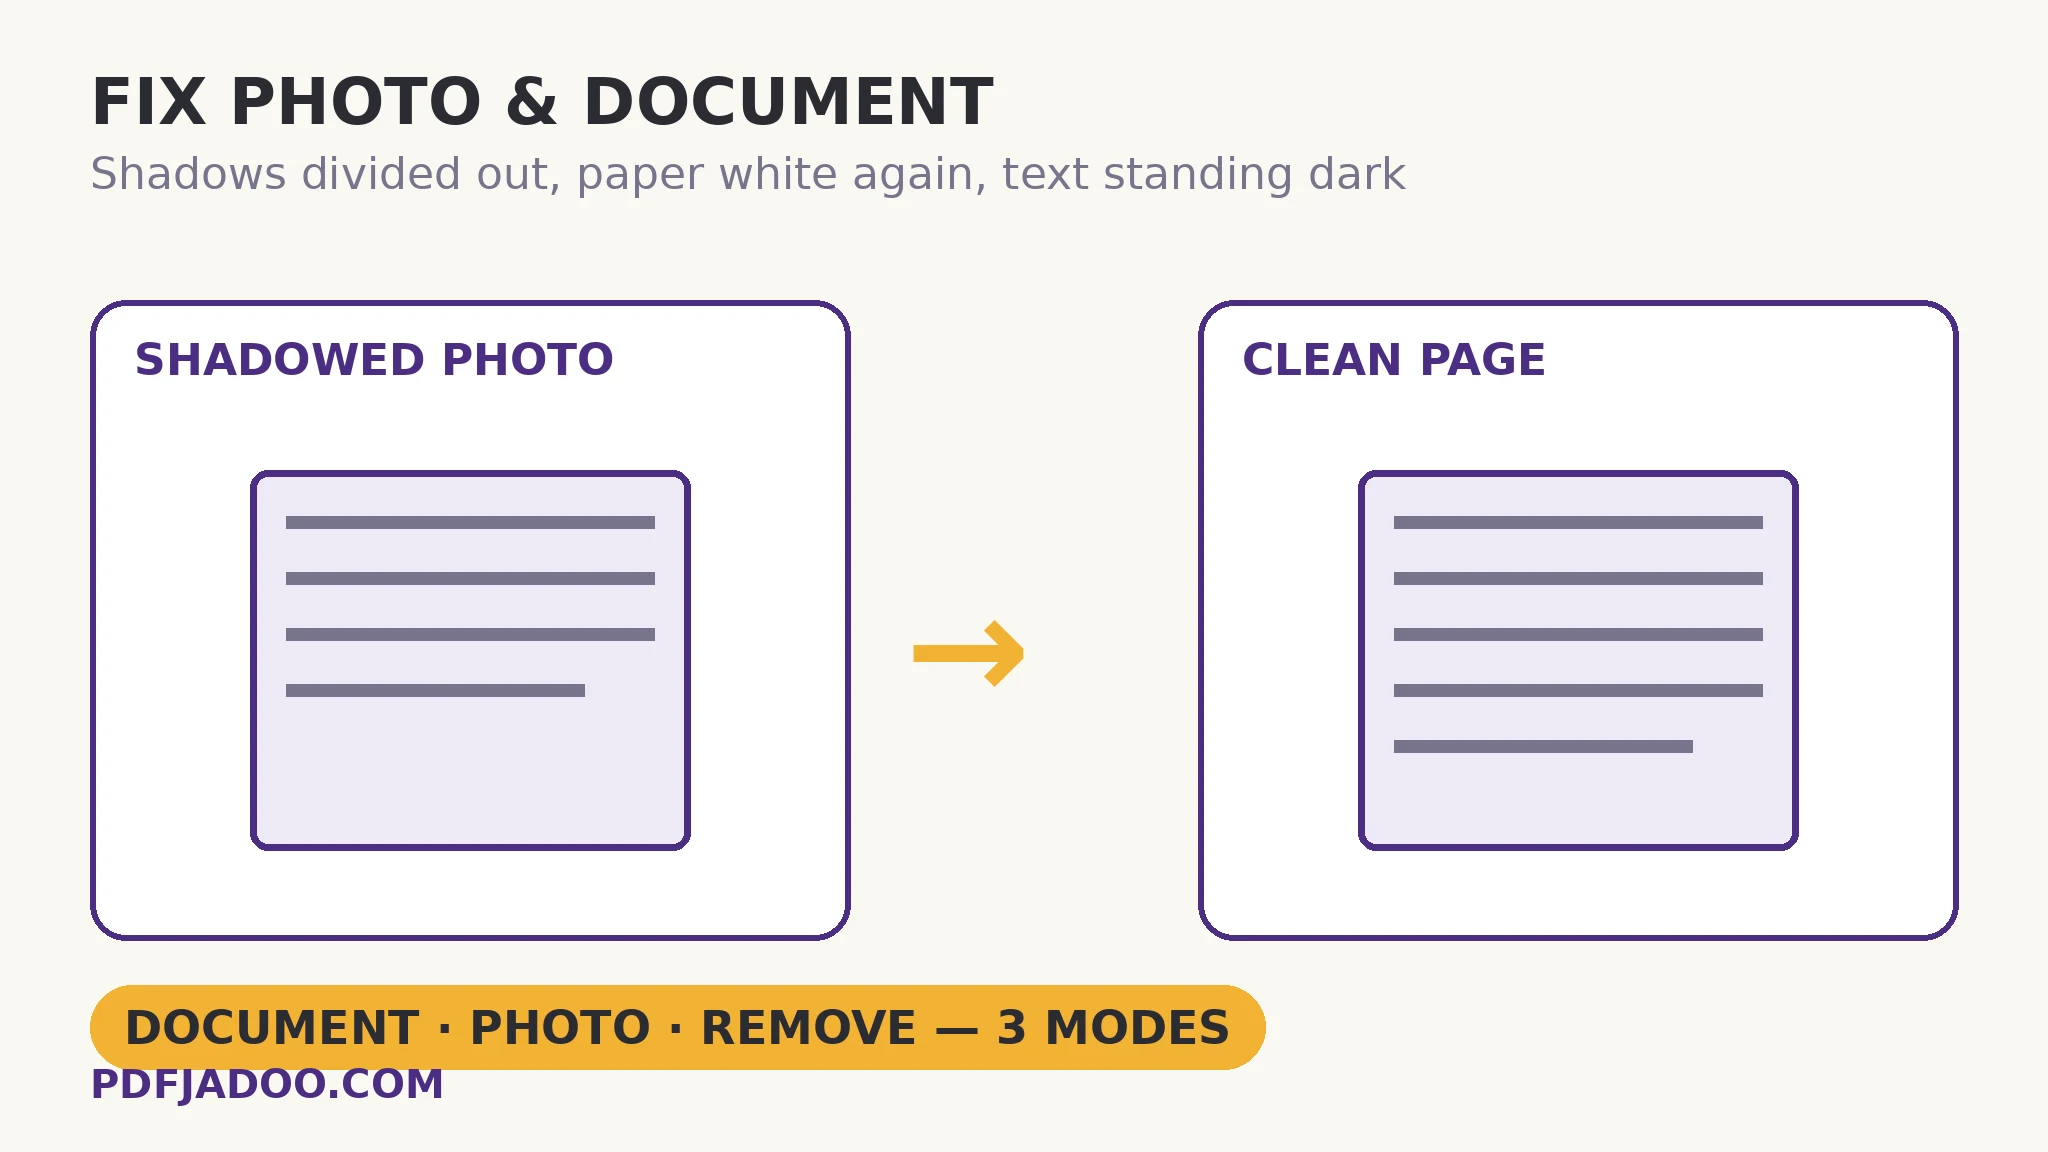
Document mode: illumination division, explained
The direct answer: the fixer builds a model of the page's lighting — bright where the lamp fell, dark where your hand shadowed it — and divides the picture by that model, so every region is judged as if lit the same. Ink survives the division because ink is dark in every lighting; a shadow is dark in only one place, and the model knows where. Coloured stamps survive for the same reason — their colour is a property of the stamp, not of the light. After levelling, the paper — grey or yellowed in the capture — is normalised toward white, and a sharpening pass raises edge contrast so soft text reads crisply. One quotable setting: Document mode's three strengths are Light (a gentle touch), Normal, and Strong (rescue mode) — and every attempt starts from the original picture, so Strong after Light is not Light-plus-Strong; it is a fresh judgement.
The limit deserves its own sentence, because it decides when to re-photograph instead: sharpening raises the contrast of edges that exist; a page blurred beyond its letters' survival has no edges to raise, and no strength setting will bring its text back. Fix mode is the second chance for a tired capture, not a resurrection for a ruined one — and it is always readability work, never content alteration: the words on the fixed page are the words on the photographed page, made legible.
Photo and Remove modes: the other two repairs
The direct answer: Photo mode applies an HDR-style enhancement — the same light-levelling instinct turned toward pictures, lifting shadows and taming glare on faces and scenes — while Remove mode fills a brush-painted patch from the pixels surrounding it. Remove's honesty note is printed beside its brush: the fill is woven from the surrounding pixels, so it works best on plain, simple backgrounds — skies, walls, paper, tabletops — and on busy patterns it will look like a soft patch, not a miracle. A scratch across a scanned page, a thumb at the frame's corner, a stranger's elbow in a family photo against a plain wall: the mode's home ground. A face removed from a crowd is not, and the tool does not pretend otherwise. Downloads are at the picture's full original size, as JPG (right for almost everything) or PNG (lossless) — the fix never costs resolution.
Fix a photo or document, step by step
The direct answer: drop one JPG, PNG or WebP picture, choose the mode that matches the fault, pick a strength, press the button, and judge with the compare slider before downloading.
Step 1 — drop the picture onto Fix Photo & Document. A photographed document, a blurry scan, an old family photo — all processing is in your browser.
Step 2 — choose the mode by the fault. Document for pages and scans; Photo for pictures; Remove when something in the frame should not be there (then paint over it with the brush, sized to the offender).
Step 3 — pick a strength. Light for a nearly-good capture, Normal for the standard tired page, Strong for the rescue. Each try starts from the original — compare freely.
Step 4 — judge with the compare slider. Drag the split, or hold to see the whole original. The fixed picture must read better as a document — text first, aesthetics second.
Step 5 — download at full size. JPG for almost everything; PNG when losslessness matters. The original stays untouched in your files.
Fix first, then OCR
The direct answer: a levelled, whitened page recognises dramatically better than a shadowed one, so the fixing pass belongs before OCR in every scan-repair pipeline. The sequence used across this kit — capture with manners, fix the light, then read the text — exists because recognition engines assume even light the way they assume level lines. The companion post on making a scanned PDF searchable picks up exactly where a fixed page leaves off.
Even light, white paper, dark text — from the photo you already took.
Three modes, three strengths, always from the original — judged with a compare slider before anything downloads.
Open Fix Photo & DocumentA worked example: the certificate in the shadow
The direct answer: a photographed certificate — hand shadow across its lower third, grey paper, a coloured seal — comes out of Document mode at Normal strength with the shadow gone, the paper white, and the seal's colour intact, because the seal was never part of the lighting model. The walkthrough shows the mechanism earning its keep: a brightness slider would have bleached the seal to save the corner; the division saved both. Strong strength was tried second — from the original, not stacked — and judged harsher than the page needed; Normal won on the compare slider. The fixed JPG, at full original size, went to the application portal; the shadowed original stayed in the family folder, as originals should.
Edge cases
Glare, not shadow. A specular hotspot — the lamp's reflection blown to pure white — holds no information to divide back; the pixels are gone. Re-photograph with the light angled, then fix the (much easier) result.
The Remove patch on a patterned background. Woven fills show on busy patterns, as the tool warns. On documents the honest alternative is a re-scan of the page; on photos, a smaller, carefully placed patch offends least.
Official documents. Fixing is for readability — light, contrast, legibility. Altering content is neither the tool's purpose nor a defensible act; the fixed page must say exactly what the photographed page said.
Before you finish: the 60-second check
- Mode matched to the fault: Document, Photo, or Remove — not habit
- Strength was judged on the compare slider, from the original each time
- Text legibility was the Document-mode verdict — not prettiness
- Blown-out glare was recognised as a re-photograph case, not a fix case
- The download is full original size; the untouched original is kept
Fair questions
How do I remove a shadow from a scanned document photo?
Drop the photo onto Fix Photo & Document, choose Document mode and a strength, and press Fix my document. The light across the page is estimated and divided out, so the shadow lifts while ink and coloured stamps survive; the paper is normalised back to white.
Why can't a brightness slider do the same job?
A slider brightens everything equally — the shadow and the lit page together — so one is saved by washing out the other. Dividing by an estimated lighting model corrects each region by its own light, which is the actual fault.
What does the Remove mode do?
You brush over whatever should not be there — an object, a scratch, a crease, a thumb in the corner — and the patch is filled from the surrounding pixels. It works best on plain backgrounds like skies, walls and paper; on busy patterns it looks like a soft patch, as the tool itself warns.
Can it unblur a very blurry scan?
No — sharpening raises the contrast of edges that exist; it cannot invent detail a blur destroyed. Fix mode rescues tired captures (shadow, grey paper, softness), and its strengths always start from your original picture so you can compare honestly.
Does fixing reduce my picture's size or resolution?
No — downloads are at the full original size, as JPG (right for almost everything) or PNG (lossless). Your original file is never modified.
Should I fix a document photo before OCR?
Yes — levelled light and white paper recognise far better than shadow and grey. Fix first, then OCR: the pipeline this kit's scan tools are built around.
Tool behaviour — the three modes (Document light-levelling, Photo HDR-style enhancement, Remove brush-fill), the Light/Normal/Strong strengths always computed from the original, the compare slider, full-size JPG/PNG downloads, and the plain-background limit of the Remove fill — is from PDFJadoo's own Fix Photo & Document page. Checked 18 November 2026.
Keep reading
Scan documents with your phone
Capture with manners next time: perspective and shadows handled at the source.
Make a scanned PDF searchable
The fixed page, made findable: OCR builds its text layer.
OCR image to text
A single photo's words, out as text — after the light is levelled.
Rotate an image by any angle
The tilted capture, levelled by degrees — canvas grown, nothing cropped.