Compress an image: type the size — the file fits it, or tells you why not
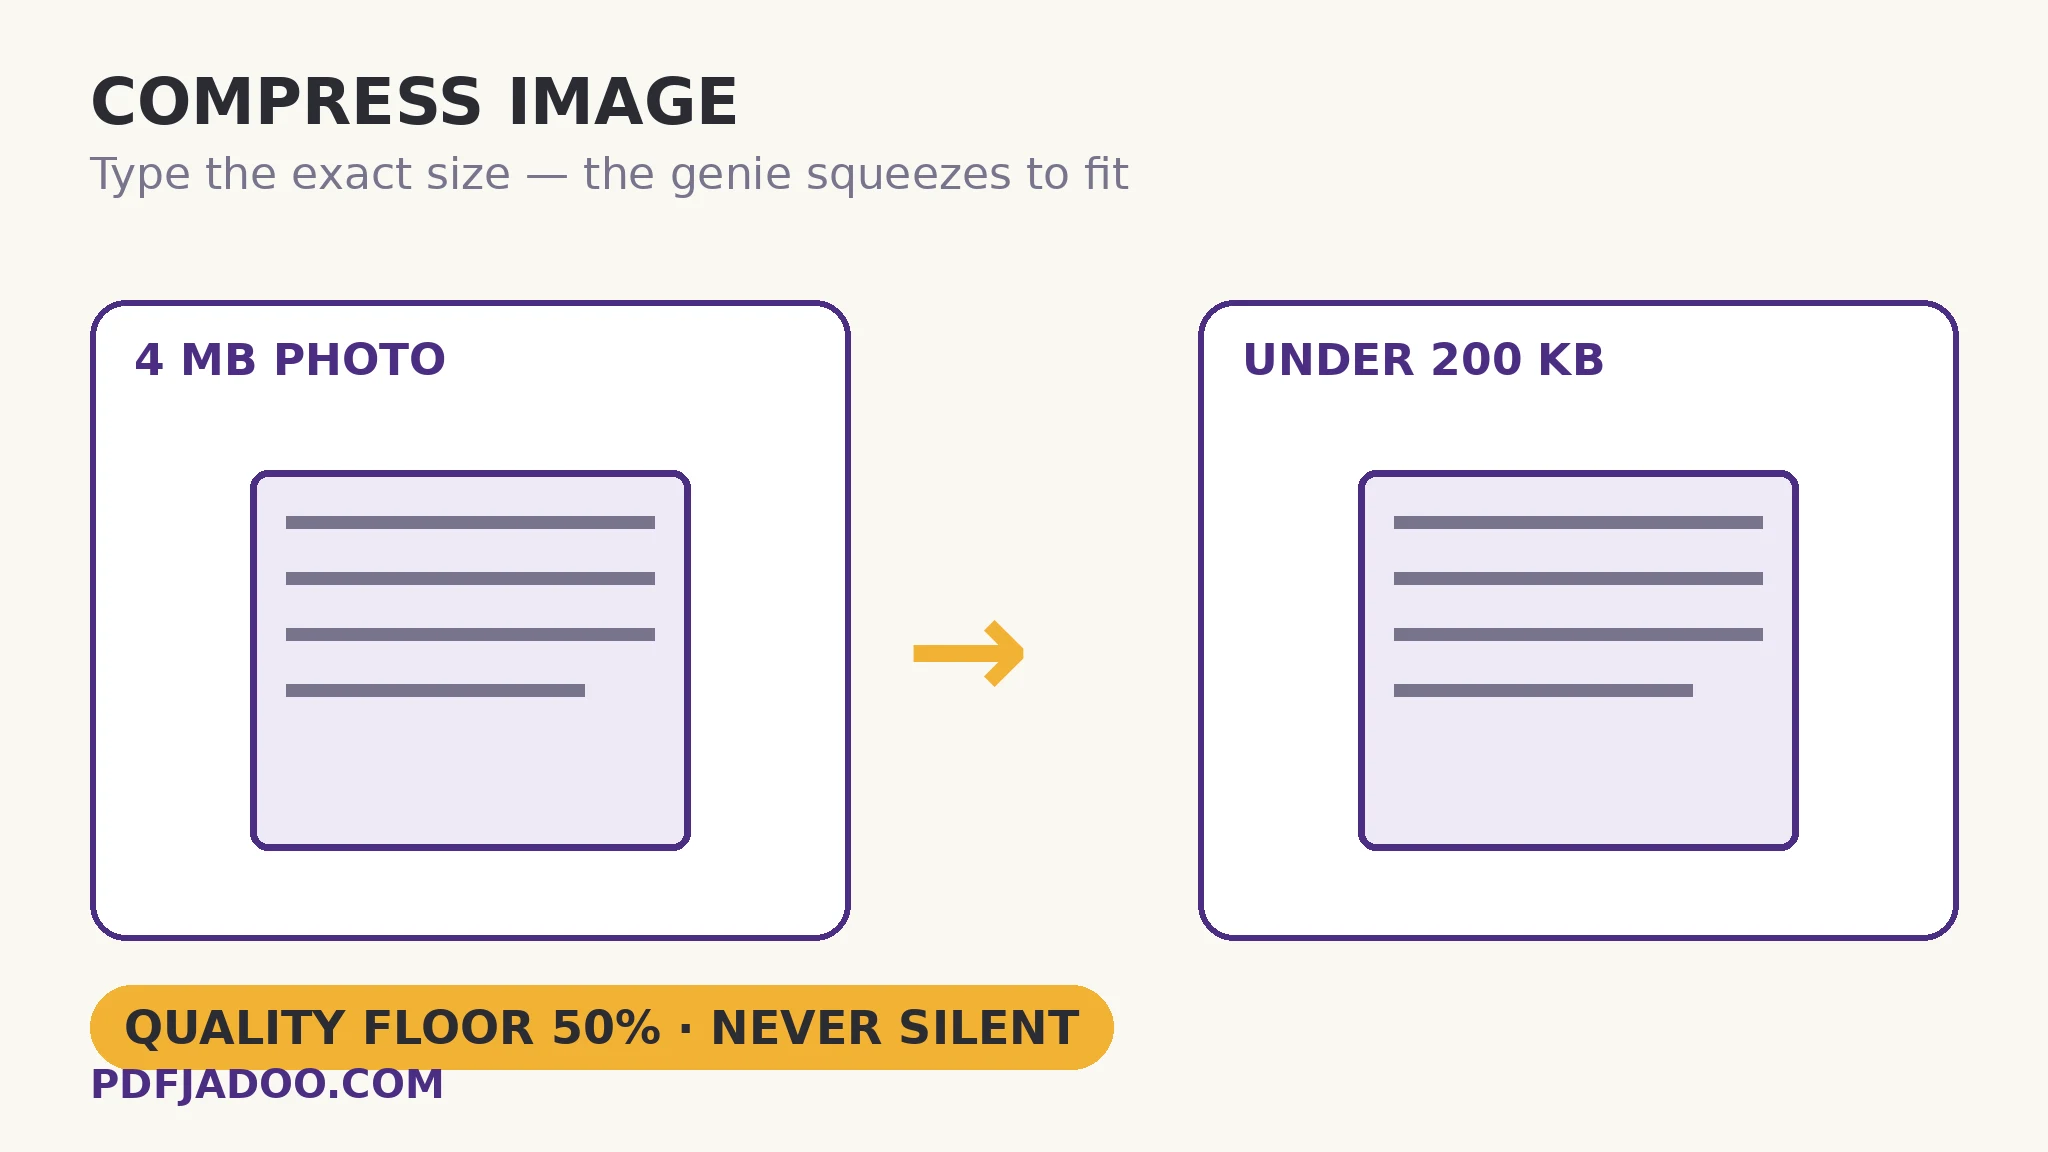
The short answer: type the exact size the form demands — 200 KB, 100 KB, any number — and Compress Image squeezes the picture until it fits, trying finer quality steps first and gentler size steps second. A quality slider alone can never promise an outcome, because no percentage maps to the same kilobytes on two different photos; a target can promise, and this tool's presets — 25 KB, 50 KB, 100 KB, 200 KB, 500 KB, 1 MB — are the limits real forms actually impose. There is also a Quality mode (82% by default) for when no limit exists and you simply want a lighter file. And there is a floor, stated on the tool's own page: quality never drops below 50% and the picture never shrinks below 42% of its dimensions silently — if your target cannot be reached above that floor, you receive the smallest good-quality file, a plain note saying so, and a button that can force it smaller only if you insist. This article explains the two levers, the floor, and the format traps.
 By the PDFJadoo Team6 min read
The two levers: quality first, dimensions second
The direct answer: an image file's weight comes from two things — how many pixels it holds and how faithfully each pixel is stored — and the compressor pulls the faithfulness lever first because it costs the least visible quality. In Target size mode the search runs in a deliberate order: finer quality steps downward from the best, and only when quality alone cannot reach the target does it begin stepping the dimensions down. That order matters because a photograph at 70% quality is nearly indistinguishable from the original, while a photograph halved in dimensions has visibly lost its detail forever. In Quality mode there is no search at all: you set the percentage — 82% is the default, the working sweet spot where photos shed most of their waste and keep their look — the picture keeps its full pixel size, and the output format is your choice: same as the original, JPG (smallest for photos), PNG (lossless, keeps transparency), or WebP (small, keeps transparency).
One fact worth memorising: PNG output is lossless, so the quality slider does not apply to it — and photographs barely shrink as PNG. If a PNG target cannot be met, the tool's note will tell you JPG or WebP reaches far smaller; that is not a sales pitch, it is the mathematics of lossless encoding meeting a photograph's noise. The second trap is transparency: JPG cannot hold transparency, so a transparent PNG saved as JPG is flattened onto white — and the result line says so, rather than letting you discover a white box where your logo's clear background used to be.
The floor: what “never silently” means
The direct answer: the compressor refuses to destroy a picture quietly — if the target needs quality below 50% or dimensions below 42% of the original, it stops at the floor, hands you the smallest good file, explains, and lets you force the rest yourself. This is the same honesty architecture as the PDF compressor's readability floor, applied to pixels. A 20 KB target on a detailed group photograph is a request for a smear; the tool will get as close as quality allows and then have the conversation with you, instead of delivering mush with a success message. Forcing is your right — the button exists — but it is a decision you make with your eyes open, about a picture you have seen.
Compress an image to a target size, step by step
The direct answer: drop the image (or a batch — every file gets the same settings), choose Quality or Target size, press the button, and compare the before/after sizes the tool shows you.
Step 1 — drop one image, or several, onto Compress Image. Everything runs in your browser; a batch of application photos never uploads anywhere.
Step 2 — pick the mode. A form gave you a number? Target size: tap the preset (25 KB to 1 MB) or type your own, in KB or MB. No number? Quality mode at the default 82%.
Step 3 — choose the output format. JPG for photographs and portals, WebP for the web, PNG only when losslessness or transparency is the point.
Step 4 — press Compress my images and read the result lines. Before/after sizes per file; a flattening note if transparency met JPG; the floor note if a target could not be met at good quality.
Step 5 — download each file, or the batch as one ZIP. Then upload to the form and keep the original somewhere safe — compression is one-way.
Which limits you will actually meet
The direct answer: the recurring walls are 200 KB on visa and university portals, 100 KB and 50 KB on exam and government forms, and 20–25 KB on the strictest signature and photo slots. Those numbers are why the presets exist. A working habit: aim a touch under the stated limit (a 200 KB wall, a 190 KB target) because systems differ in how they count a kilobyte, and a rejection at 199.8 KB teaches the lesson the expensive way.
Give it the number. It will meet the number — or explain itself.
Quality steps first, dimension steps second, a floor it will not cross silently, and a force button that is honestly yours.
Open Compress ImageA worked example: the visa photo wall
The direct answer: a 4.2 MB phone portrait headed for a portal capped at 200 KB reaches the target in Target size mode at full dimensions, because portrait pixels compress kindly — no resize was needed. The walkthrough: the photo drops in, Target size is set to 200 KB with JPG output, and the quality search settles in the mid-70s — the face, the shoulders, the background all read exactly as photographed, at a twentieth of the weight. The same photo aimed at a 25 KB exam-form slot is a different story: quality alone cannot get there, dimensions step down too, and if the floor intervenes, the note appears and the decision — accept the smallest good file, or force — is made by the applicant, not by a silent algorithm. Two targets, two honest outcomes, one tool behaviour: it tells you which one you got.
Edge cases
The already-small file. A picture already under the target needs nothing; compressing it anyway only spends quality. Check the starting size first — the tool shows it.
The screenshot with text. Text edges are where quality loss shows first. For screenshots, WebP or a higher quality setting preserves the crispness that JPG smears at low percentages.
Re-saving a JPG repeatedly. Every lossy save spends detail. Always compress from the original, never from yesterday's compressed copy — the generations compound.
Before you finish: the 60-second check
- The mode matches the job: Target size for a stated limit, Quality for general lightening
- A safety margin sits under strict portal limits (190 KB for a 200 KB wall)
- Format chosen knowingly: JPG flattens transparency onto white; PNG barely shrinks photos
- Result lines were read — floor notes and flattening notes are decisions, not footnotes
- The original is kept: compression is one-way, and the batch ZIP is not a backup
Fair questions
How do I compress an image to exactly 200 KB?
Drop the image onto Compress Image, switch to Target size, tap the 200 KB preset (or type your own number), and press Compress my images. The tool steps quality down first, then dimensions, until the file lands at or under your target.
What quality percentage should I use?
82% is the default and the working sweet spot for photographs — most of the waste gone, the look intact. In Target size mode you do not choose a percentage at all: the tool searches for the best quality that fits your number.
Why won't it go below a certain size?
There is a quality floor: JPEG/WebP quality stays at or above 50% and the picture keeps at least 42% of its dimensions. If your target cannot be reached above that floor, you get the smallest good-quality file, a plain note, and a button to force it smaller only if you insist.
Why did my PNG barely shrink?
PNG is lossless — it cannot discard detail the way JPG and WebP do, and photographs are mostly detail. The tool's note will say so and point out that JPG or WebP reaches far smaller for photos.
What happens to a transparent image saved as JPG?
JPG cannot hold transparency, so the transparent areas are flattened onto white — and the result line tells you it happened. Choose PNG or WebP output to keep transparency.
Are my images uploaded?
No — compression runs entirely in your browser, and a batch gets the same settings without any file leaving your device.
Tool behaviour — the Quality (82% default) and Target size modes, the 25 KB–1 MB presets, the quality-first-then-dimensions search, the 50% quality / 42% dimension floor with its note and force button, JPG's flattening of transparency onto white, and PNG's losslessness — is from PDFJadoo's own Compress Image page. Checked 18 November 2026.
Keep reading
Rotate an image by any angle
Sideways or tilted before it compresses? Straighten it first — from the original.
HEIC to JPG at full resolution
The iPhone photo that won't open anywhere: decoded at its exact pixel size.
Fix a document photo's shadows
The tired scan, cleaned: light levelled, paper white, text dark.
Compress a PDF without losing quality
The document version of the same honesty: a floor, a note, no silent mush.