Handwritten assignment? Notebook photos into one clean PDF
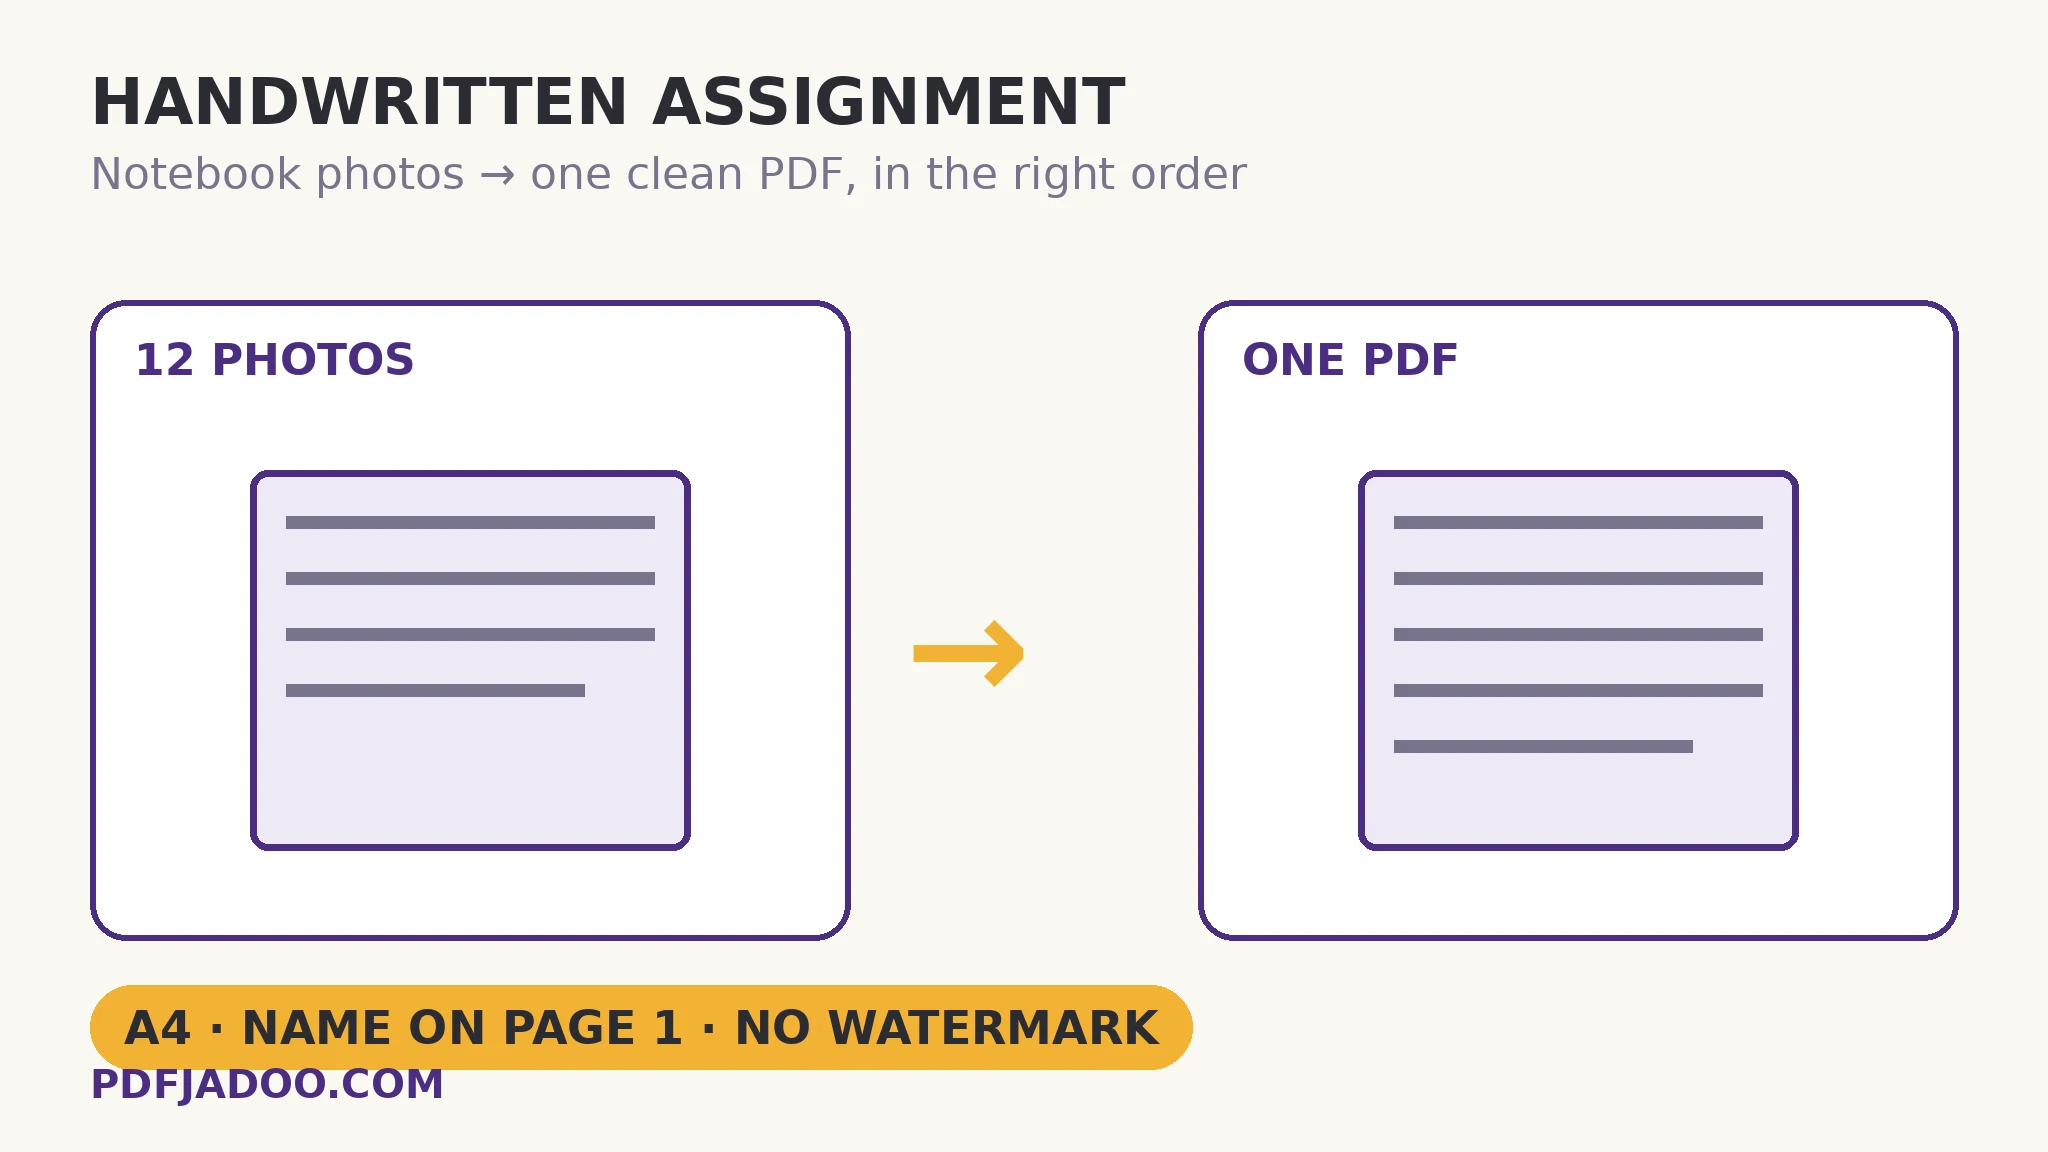
Take the photos in page order, drop them into JPG to PDF, choose A4 with a small margin, and download one combined PDF — that is the whole workflow, and it takes minutes on the phone already in your hand. The craft is in three details: your name and roll number written on the first page before you photograph it, a thirty-second order audit before you submit, and a size check at the end, because a dozen full-quality photos can outweigh a portal's limit.
 By the PDFJadoo Team8 min read
Why teachers ask for one PDF (and why they are right)
A portal upload box accepts one file, and a marker opening twelve separate photos gets them in whatever order the phone felt like naming them — page 7 before page 2, one of them sideways. A single PDF fixes the order permanently, prints identically everywhere, and carries your name page at the front where it belongs. University LMS guidance tells students the same thing from the other side: handwritten work is submitted as one scanned PDF, because that is the form a marker can actually mark. The requirement is not bureaucracy; it is the difference between an assignment and a pile of evidence.
One last detail belongs to the file itself: its name. Portals often show the marker a download list stripped of context, and “IMG_2041.pdf” says nothing in a folder of forty submissions. Rename the finished file before uploading — your name, roll number and the assignment, in that order (Name-RollNumber-Assignment2.pdf). It costs five seconds, it survives every download, and it is the version of you that reaches the marker's desk.
Two routes in — pick by where your pages are now
| Your situation | Route | Why |
|---|---|---|
| The photos are already on your phone | JPG to PDF | Binds the existing photos into one PDF in the order you set; images embedded at full quality, never re-compressed |
| You have not photographed the pages yet | Scan to PDF | Photographs each page with the camera, straightens perspective, levels shadows, and offers a bright Document look — the office-scanner finish |
| A PDF exists but its pages are out of order | Organize Pages | Drag the page previews into the right sequence and save — the pages themselves are copied losslessly, nothing re-rendered |
Most students reading this are in the first row, so the steps below follow it. The other two routes rejoin the story as repairs.
The workflow, step by step
Step 1 — put your name and roll number on page 1, in ink, before any photographing. Assignment guides repeat this because it is the detail everyone forgets: the first page of the file is your cover. Name, roll number, course — written at the top of the first notebook page, they travel with the PDF forever. A PDF tool cannot retrospectively make a marker confident that an anonymous stack of handwriting is yours.
Step 2 — photograph each page like it matters (it is the whole quality budget). One page per shot, straight-on rather than at an angle, the page filling the frame, in even light with no shadow of your hand or phone across the writing. Check each shot at full zoom before moving on: if a line is blurry in the photo, it is blurry in the PDF, in the portal, and on the marker's screen. Retaking a page takes ten seconds now and is impossible after submission.
Step 3 — bind the photos in JPG to PDF. Drop the photos onto JPG to PDF — JPG and PNG both work, as many as your phone's memory allows. Use the ↑ ↓ arrows on each image to set the reading order. Choose A4 as the page size with a small margin: A4 is the shape markers and printers expect, and the margin keeps writing near the page edge from ever being clipped. (The “fit page to image” option has its place — receipts and screenshots — but an assignment should look like a document, not a photo album.) Keep the output as one combined PDF and press the button.
Step 4 — run the thirty-second order audit. Open the finished PDF and flip through it once, checking the notebook's own page numbers against the PDF's sequence: first page, a middle page, last page. Photos taken in a hurry hide two classic faults — a page photographed twice and its neighbour never, and two pages swapped. Both are invisible in the camera roll and obvious in the PDF. Find them now, while the fix is one of the repairs below.
Step 5 — check the size before the portal does. JPG to PDF embeds your photos at full quality, which is exactly right for legibility and exactly wrong for small upload limits: twelve photos can produce a 20 MB file. If your portal's cap is lower, finish with the target-size compression workflow — aim just under the limit and the handwriting stays readable.
Photos in. One PDF out.
JPG and PNG in the order you arrange them, embedded at full quality on the page size you choose — in your browser, so your notebook never leaves your phone and no watermark ever touches it.
Open JPG to PDFRepairs: the four things that go wrong, fixed after the fact
One page is sideways. It happens when the phone's rotation guess loses. Do not rebuild the file: Rotate PDF turns the page upright in the finished PDF, losslessly.
Two pages are swapped. Organize Pages shows every page as a preview; drag the strays into place (press-and-hold on a phone, then slide) and save. The saved file follows exactly the order on screen, and nothing about the pages themselves changes.
A page is missing entirely. Photograph it, make a one-page PDF from it the same way, and place it with Insert Pages — or simply rebuild the combined PDF with the complete set; at these sizes rebuilding is often faster than surgery.
The whole file is too big. That is a compression job, not a conversion job — the portal-limit guide walks it end to end. What you should not do is re-photograph everything at lower quality: the original photos are your master copy, and every fix above works better from full-quality material.
Marking-friendly habits that cost nothing
Three habits, free at the notebook stage, make the finished PDF visibly more professional. Number your notebook pages as you write — a small 3, 4, 5 in the corner of each page means a dropped or doubled page announces itself in the order audit instead of hiding in it. Write in a dark pen rather than a faint pencil: cameras read contrast, and pencil lines that look fine on paper can wash out to grey ghosts in a photograph, especially under warm room light. And leave the last written line a finger's width above the page's bottom edge — phone cameras distort most at the frame's edges, and the final line of a page is usually the one carrying the conclusion. None of this is submission rules; all of it is the difference between a PDF a marker reads fluently and one they squint at, and fluency is worth marks you will never see itemised.
The honest limits of the whole method
Conversion preserves; it does not improve. JPG to PDF embeds each photo exactly as it is — a page photographed in poor light stays dim, and handwriting blurred by a moving hand stays blurred. The Scan to PDF route genuinely helps there (it straightens perspective and levels shadows as you capture), which is why it is the better route when the pages are still on paper. And a fairness note markers would want said: because nothing is uploaded, your notebook — drafts, crossings-out and all — never sits on a stranger's server waiting to be somebody else's data problem. The work happens in your browser, on your phone, and the file that leaves is the one you chose to submit.
Sources
- GyanPark — Convert Photos to PDF for Assignment: Step-by-Step Guide (page order, A4, name and roll number on page 1).
- FreeConvert — How to Combine JPG to PDF for Submissions (handwritten homework and lab reports as the core academic use).
- University of Melbourne, LMS help — Converting images to PDF for assignment submission (universities teach this workflow because students search for it).
Before you finish: the 60-second check
- Name, roll number and course written on the first page before photographing
- Every page shot straight-on, in even light, and checked readable at full zoom
- Order set with the arrows — and audited in the finished PDF against the notebook's page numbers
- A4 page size with a small margin chosen for a document, not a photo album
- File size checked against the portal's limit, and compressed to target if needed
- The submitted PDF opened once, start to finish, before it was sent
Fair questions
Can I turn photos into a PDF without installing an app?
Yes. JPG to PDF runs in your phone's browser — drop the photos in, order them, choose A4, and download the combined PDF. Nothing is installed, nothing is uploaded, and the same page works on a computer.
Will JPG to PDF reduce the quality of my photos?
No. The original image data is embedded as it is — never re-compressed — so what was sharp in the photo is sharp in the PDF. The honest corollary: a blurry photo stays blurry. Quality is decided at the camera, not at the converter.
My combined PDF is 20 MB and the portal wants 10 MB. What now?
That is the expected weight of a dozen full-quality photos, and it is a compression job: use Target size mode in Compress PDF and aim just under the limit. The portal-limit guide walks the whole fix, including the readability check.
I saved the PDF and two pages are in the wrong order. Do I start over?
No. Organize Pages shows the pages as previews — drag the two strays into place and save. The pages are copied losslessly into the new sequence, so the repair costs nothing in quality.
A4 or “fit page to image” — which should an assignment use?
A4, with a small margin. It gives every page the same document shape a marker and a printer expect, and the margin protects writing near the edges. “Fit page to image” makes each page the photo's own shape — right for receipts and screenshots, wrong for something that should read as one document.
One photo came out sideways. How do I fix just that page?
Build the PDF as usual, then turn the page upright with Rotate PDF. Rotation of a finished page is lossless — no re-compression, no quality cost — so it is safe as a last step before submitting.
Tool behaviour — full-quality embedding with no re-compression, the ↑ ↓ ordering arrows, A4/Letter/fit page sizes and margins, Organize Pages' lossless drag ordering, and Scan to PDF's perspective straightening and shadow levelling — is from PDFJadoo's own tool pages, checked 18 November 2026. The workflow details credited to university and guide sources are listed under Sources above.
Keep reading
Scan to PDF with your phone camera
The other route in: pages not yet photographed, straightened and brightened as you capture them.
JPG to PDF: batch photos, one PDF
The tool article behind this workflow — batch behaviour, page sizes and the ZIP option, in full.
Assignment PDF too large to upload?
The finishing step: shrink the combined file to your portal's exact limit without blurry pages.
Combine JPG photos into one PDF
Order, orientation and size — the three ways photo-binding actually fails, handled one by one.