UK eVisa and UKVI account problems: the card expired, the status didn't
Every biometric residence permit carried an expiry date of 31 December 2024 — and stopped being proof of anything the day it passed. Your permission did not expire with it. It moved into a free UKVI account, as an eVisa, reached through an app that scans your document's chip and your face. This guide covers the account, the app, and the failures that stop people getting in.
 By the PDFJadoo Team9 min read
What changed, and what the official route actually is
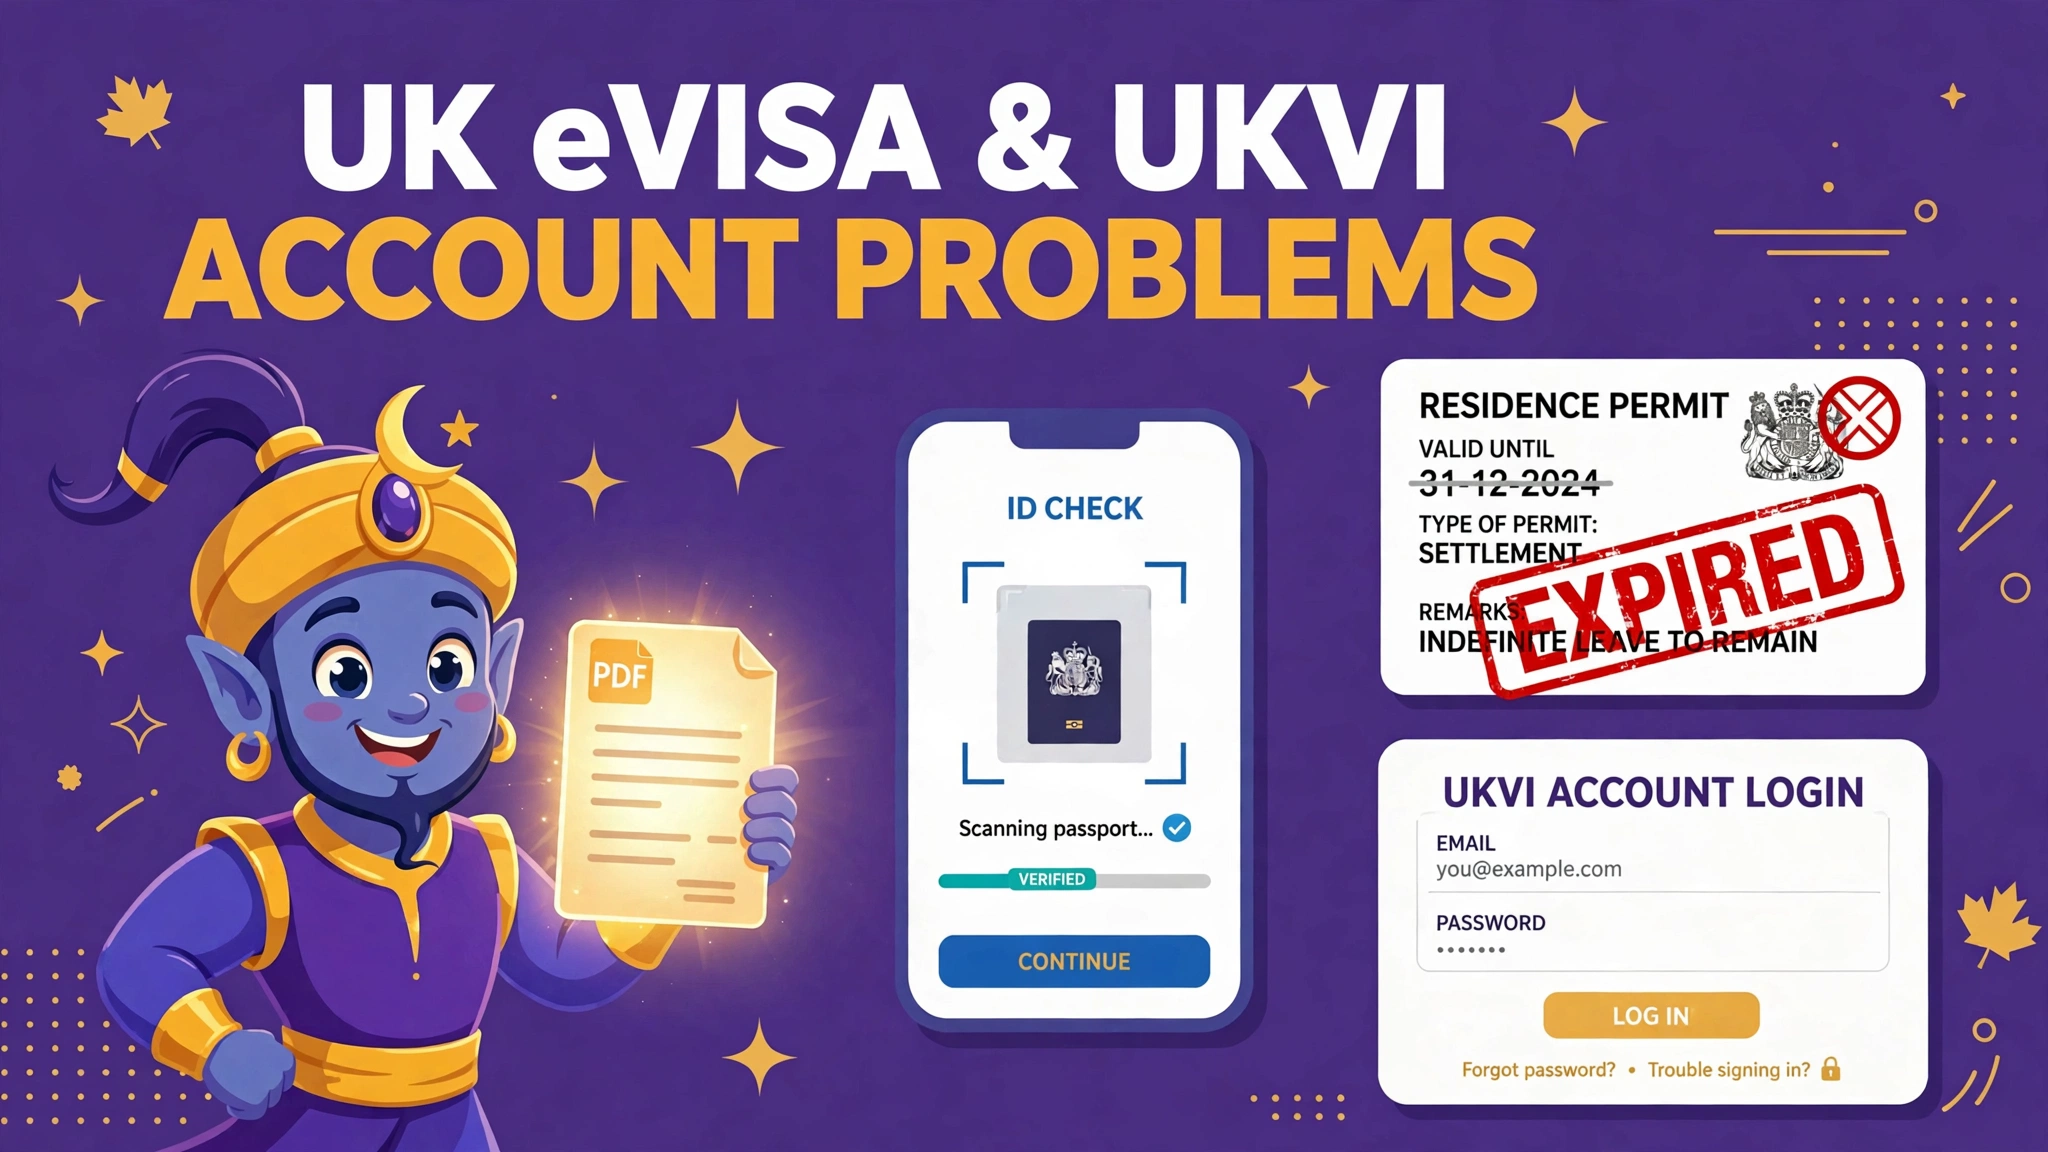
An eVisa is a digital record of your identity and immigration status — the type of permission you hold and its conditions, such as whether you may work or study. GOV.UK states it plainly: eVisas have replaced physical immigration documents. A visa vignette (sticker) in a passport remains valid until it expires, but the BRP system is finished: the cards were issued with expiry dates ending 31 December 2024, and an expired BRP is no longer proof you can show an employer, a landlord or a border officer. What proves your status now is a share code, generated from your UKVI account, which the checker uses alongside your date of birth. A share code lasts for 90 days and can be used as many times as you need before it expires.
The account is free — you do not need to pay to set up a UKVI account or access your eVisa — and it is created once. One warning matters before you start: you may already have an account, for example if you have ever used the ‘UK Immigration: ID Check’ app, applied to the EU Settlement Scheme, or replaced a BRP with an eVisa. If so, do not create another one — try signing in first. Partners and children joining you as dependants each need their own account.
| Step or fact | What GOV.UK specifies |
|---|---|
| What you need | A phone number and email address you can use each time you sign in. |
| Plus one of these | A valid passport and your visa application number (a GWF or UAN number); or a valid passport and your BRP number; or your expired BRP. |
| Expired BRP window | An expired BRP can be used to create an account for 24 months after the expiry date printed on the card, or until 31 December 2026 — whichever comes first. |
| Identity and linking | After creating the account you must confirm your identity and link the account to your eVisa. You cannot access your eVisa until you have completed these steps. |
| Smartphone | You will need access to a smartphone to install an app to confirm your identity. Another way exists if you have no valid passport or expired BRP, or cannot access a smartphone or use the app. |
| Linking time | Usually you can access your eVisa straight away once it is linked, but it can take up to 24 hours. |
| Travel | Your account must hold your current passport or travel document, and your details must exactly match the passenger information you give your carrier. |
| Share codes | A share code lasts 90 days, can be used repeatedly, and the checker also needs your date of birth. |
The identity step usually runs through the ‘UK Immigration: ID Check’ app. The app checks that your identity document is genuine and verifies that it belongs to you, in three movements: you photograph the document's photo page, the phone reads the document's chip using NFC, the app scans your face (the screen flashes while it does), and you take a photograph of yourself. That photograph follows rules of its own: even lighting, a plain light-coloured background, head straight, looking directly at the camera, a neutral expression, eyes open and visible, head, shoulders and upper body in frame — and nothing covering your face or eyes, no head covering unless for religious or medical reasons, no shadows, objects or people behind you.
Where it goes wrong: the three failures
The chip will not read. The app reads the chip through NFC — the same technology as contactless payment — and it is fussy about physics. Cases and covers on the phone or the document block it. The chip sits in different places in different documents, so GOV.UK's own advice is to place the phone on the document and move it slowly until the app recognises it, then hold still: do not move the phone once the screen says ‘information checked’. For a BRP, the chip is on the back of the card. If the screen times out to ‘information not found’, keep moving slowly rather than tapping impatiently — and know that some documents are genuinely harder: HKSAR passports with a document number starting with ‘K’ may have chips that are harder to read.
The document photograph fails. Before the chip is even read, the app photographs the page — and the whole page must be inside the frame, including the two lines of numbers and letters at the bottom of a passport's photo page (three lines on the back of a BRP), with the camera focused on the text. GOV.UK's tip for persistent trouble is unglamorous and effective: take the photo at arm's length. Glare across those bottom lines is the usual culprit; change the angle of the light, not the document.
The face and photo do not match. The app compares your face scan and your photograph against the chip's image. Bad light manufactures mismatches: a shadowed face, a bright window behind you, a cluttered background. The photograph rules above are not decoration — they are the conditions under which the matching works. Prepare for the photo the way you would for a passport photo, because functionally that is what it is.
- Phone ready: Android 8.0 or later with NFC and at least 135 MB free, or iPhone 7 or newer on iOS 15 or later with at least 120 MB free — and camera access allowed
- Cases and covers off both phone and document before you start the chip check
- Document page photographed whole, bottom lines included, text in focus, no glare
- Chip check done slowly: phone resting on the document, moved gently, held still at ‘information checked’
- Your photograph taken in even light against a plain, light-coloured background — head, shoulders and upper body, neutral expression, eyes open
- Sign-in details that will stay yours: your own email address and phone number, not an agent's
- Expired BRP kept, not binned — its number still opens the account route inside the window above
One honest boundary, stated before the fix rather than after it: the identity check itself happens inside the official app, on your phone, with your document. No website — including this one — can scan your chip or take that photograph for you, and anyone who offers to “do your eVisa” for a fee is selling you a free government service. What preparation can do is remove every avoidable failure before the app gets a vote.
The preparation, step by step
Step 1 — assemble the paper first. Before touching the app, lay out what the account will ask for: your passport, your BRP if you ever had one (expired is fine, inside the window), and your visa application number — the GWF or UAN from your application. Photograph or scan the passport photo page and both sides of the BRP, and keep the files as your own record. If you are ever locked out or starting again on a new phone, that record is the difference between an inconvenience and a crisis.
Step 2 — make the record tidy with JPG to PDF. Combine the document images into one clearly named PDF — passport page, BRP front, BRP back — in your browser, on your device. This PDF is for your records and for any later correspondence; it is not uploaded to the app, and this guide will not pretend otherwise. Its value is order: one file, named once, findable in two years.
Step 3 — prepare your face for the photograph with the Passport Photo tool. The app takes its own photograph, so the tool cannot supply it — what it can do is rehearse you. Take a portrait under the app's conditions, run it through the tool, and look honestly at the result: even light, plain background, no shadows, eyes visible. If the rehearsal shows a shadow or a cluttered wall, fix the room before the app session, not during it. The app also skips the face scan for children aged 9 or younger, and offers a way to skip the flashing-light scan if flashing light may cause you difficulties — look in its ‘Find out more’ menu.
Step 4 — run the app session in one calm sitting. Start the account on GOV.UK first — the app only works once you have started — then connect it with the QR code, or the connection code if the QR code will not scan. Work through document photo, chip check, face scan and photograph in that order, in good light, without an audience behind you.
Step 5 — if the chip truly will not read, take the official exit. GOV.UK is explicit: if the app cannot read the chip, you can choose to confirm your identity another way, which means booking an appointment at a Visa Application Centre or a UKVCAS service point. That is a route, not a failure of your application. And once the account is linked, do the two maintenance habits that prevent the next problem: keep your current passport added to the account — especially before you travel — and update your account if you change your name, your nationality, or your photo because you cannot be recognised from the current one.
Prepare before the app session — free
Rehearse your identity photograph with the Passport Photo tool, and build your own one-file document record with JPG to PDF. Both run in your browser. The identity check itself stays in the official app, where it belongs.
Check my photo Build my record PDFA worked example: ‘information not found’, three times
A typical stuck session looks like this. The account is created on a laptop in ten minutes. The app connects by QR code. The passport page photographs cleanly. Then the chip check: the phone is placed on the passport, nothing happens, the screen times out — ‘information not found’. The applicant tries again, faster and more firmly, and fails again, now suspecting the passport itself is broken.
The passport is fine; the physics are not. The phone is in a wallet case (off it comes), the passport has a cover (off), and the phone is being held hovering above the page instead of resting on it. Third attempt, on the GOV.UK method: covers off, phone laid on the document, moved slowly a few millimetres at a time. A beep, ‘information checked’, hold still. Face scan, then the photograph against the plain wall by the window — taken at midday for even light, not under the yellow kitchen bulb — and the account links. Total extra knowledge required: none. Total difference: preparation and patience, applied in the right order.
The 60-second check before you open the app
Sixty seconds of questions that save an hour of retries. Is this phone able to pay contactlessly? Then it has NFC and the app can work. Are the cases off — phone and document both? Do you have, in front of you, the passport, the BRP if you had one, and the GWF or UAN number? Is the sign-in email address and phone number yours, and will they still be yours next year? Is the light even, the wall plain, and is there nobody wandering behind you?
Then the last check, the one people skip: have you tried signing in before creating anything? You may already have an account, and a duplicate helps no one. Create once, link once, and the eVisa stops being a problem you revisit — it becomes the thing you open, when an employer or a landlord asks, and close again.
Fair questions
My BRP expired on 31 December 2024. Has my immigration status expired too?
No. The card expired; the permission behind it did not. eVisas have replaced physical immigration documents, so your status now exists as a digital record. Create a free UKVI account to view it and to get share codes that prove your status.
What do I need to create a UKVI account?
A phone number and email address you can use each time you sign in, plus one of the following if you have them: a valid passport with your visa application number (a GWF or UAN number), a valid passport with your BRP number, or your expired BRP — usable for 24 months after the expiry date printed on the card or until 31 December 2026, whichever comes first.
The app cannot read my document's chip. What do I do?
Remove any cases or covers from the phone and the document, place the phone on the document and move it slowly until the app recognises the chip, and do not move it once the screen says 'information checked'. If the app still cannot read the chip, GOV.UK says you can confirm your identity another way — by booking an appointment at a Visa Application Centre or a UKVCAS service point.
Why does the app reject my photo of myself?
The photo step has its own rules: even lighting against a plain, light-coloured background, head straight and looking directly at the camera, a neutral expression with your eyes open and visible, and your head, shoulders and upper body in frame. Nothing may cover your face or eyes, and there must be no shadows, objects or people behind you.
I created my account. Why can I still not see my eVisa?
Creating the account is only the first half. You must then confirm your identity and link the account to your eVisa — you cannot access the eVisa until those steps are done. Once linked, access is usually immediate, but it can take up to 24 hours.
Can PDFJadoo do the identity check for me?
No. The identity check happens inside the official 'UK Immigration: ID Check' app, and no third-party tool can do it for you. PDFJadoo can only help you prepare beforehand — a compliant portrait with the Passport Photo tool, and a tidy PDF record of your documents with JPG to PDF.
Sources: UK Visas and Immigration on GOV.UK — eVisas: access and use your online immigration status (eVisas have replaced physical immigration documents; free UKVI account; expired BRP usable for 24 months after the printed expiry or until 31 December 2026, whichever comes first; identity confirmation and linking required; access usually immediate, up to 24 hours; share codes last 90 days) and Using the ‘UK Immigration: ID Check’ app (phone requirements, document and chip scanning, face scan, photograph rules, and the appointment route if the chip cannot be read). Two windows, not a contradiction: GOV.UK gives an expired BRP a 24-month window (ending by 31 December 2026) for creating a UKVI account, while the ID Check app page allows an expired BRP for 18 months after its printed expiry where an application route permits it — different steps, different clocks; check the one that applies to you. This page is general information only and is not legal or immigration advice. PDFJadoo is not affiliated with UK Visas and Immigration.
Keep reading
Passport Photo
Rehearse the identity photograph the app will demand.
JPG to PDF
One tidy PDF record of your passport and BRP, kept by you.
UK visa document upload rules
Self-upload before the biometrics appointment: sizes, formats, fees.
UK passport photo rejected?
The digital rules — 600 × 750, 50 KB to 10 MB — behind the refusal.