PNG to JPG: flattening is a decision — choose the background
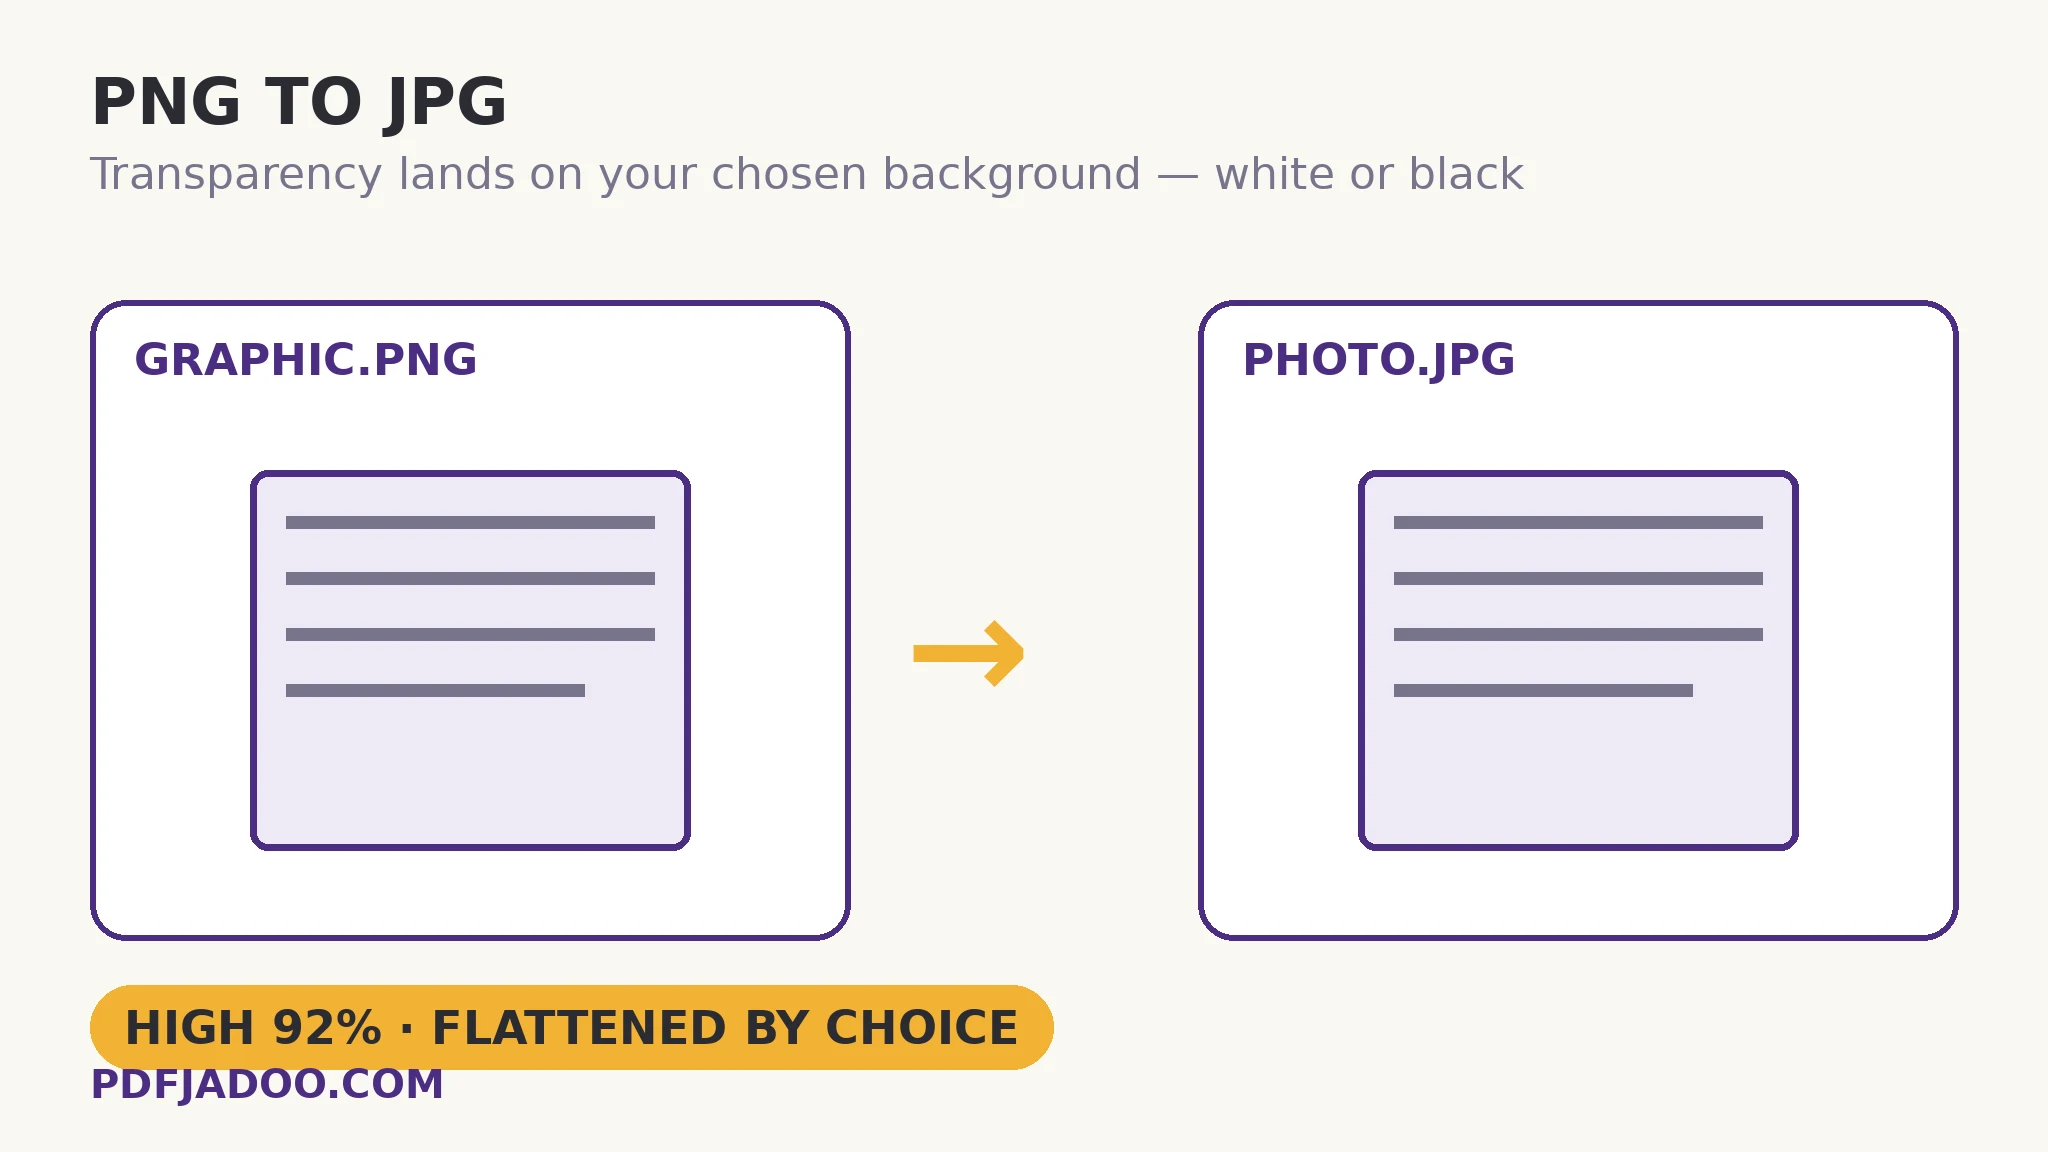
The direct answer: JPG cannot store transparency, so the PNG's see-through areas are composited onto a background colour before encoding — white by default on this tool, black if you prefer — and the famous “white box around my logo” is simply that flattening happening by default instead of by choice. PNG to JPG puts the choice in your hands and calibrates the rest: quality settings of High (92%), Balanced and Smaller, with the tool's own guidance that at High, photos look identical to the eye. The conversion's two honest populations divide by content: photographic PNGs — screenshots of photos, exported pictures, scans saved as PNG — convert beautifully and shrink dramatically, often to a tenth of the PNG's weight; text and line art are the opposite case, because JPG's compression hazes exactly the sharp edges they are made of, and they should stay PNG. This article is the flattening explainer and the content rule: when the trip is right, how to choose the ground, and the master-and-delivery discipline that makes the choice reversible.
 By the PDFJadoo Team6 min read
Flattening, explained once
The direct answer: a transparent pixel is a colour plus an opacity; JPG stores only colour — so before encoding, each pixel's colour is blended with a background according to its opacity, and the blend becomes permanent. Fully transparent areas become the pure background; semi-transparent edges (the anti-aliased halo around a logo) blend partially, which is why a logo flattened onto white and then placed on a dark page shows a pale fringe: the fringe is white's blend, baked in. One quotable rule follows: flatten onto the colour of the destination the JPG will actually sit on — a logo destined for a dark page should be flattened onto black (or kept PNG), never onto white by default. Bad tools choose black silently and produce the “black box” variant; this one asks, and the asking is the feature.
The size story is the conversion's other half: PNG stores photographs losslessly and therefore heavily — a camera-grade PNG can run to ten times its JPG twin. For a form with a size cap or an email with a limit, the JPG copy at High is the same picture at a travelling weight, which is why this is among the most-used converters in the family.
The content rule
The direct answer: photographs convert; diagrams, screenshots of text and logos with hard edges stay PNG — JPG's block compression rings around sharp transitions, and no quality setting fully exempts edges, it only prices the haze lower. At 92% a photo's soft transitions hide the mechanism entirely; a black-on-white diagram has nowhere to hide it. Choose per image, not per folder.
Convert a PNG to JPG, step by step
The direct answer: decide the background by the destination, drop the PNG — or a batch — pick High for photographs, convert, and download singly or as a ZIP.
Step 1 — choose the background by destination. White for documents, forms and light pages; black for dark destinations; keep the PNG entirely if the image must float over varying grounds.
Step 2 — drop your PNG onto PNG to JPG. Everything runs on your device.
Step 3 — pick the quality. High (92%) for photographs — identical to the eye; Balanced for size-sensitive sharing; Smaller only under a cap.
Step 4 — press Convert to JPG. Transparency is flattened onto your chosen ground as part of the encode.
Step 5 — download each file or the batch ZIP, and keep the PNG. The PNG remains the master; the JPG is a delivery copy whose flattening can be re-decided any time from it.
The form-filling case
The direct answer: a JPG-only upload form is this conversion's home ground — convert at High, check the result against the form's size cap, and if it still exceeds it, the target-size image compressor takes the JPG the rest of the way to an exact KB. Two honest steps, each from the best source.
Choose the ground, keep the master, shrink the photo.
White or black flattening by your decision, High at 92% for photographs, batches as ZIP.
Open PNG to JPGA worked example: the logo on two pages
The direct answer: a startup's transparent logo is needed on a white investor deck and a dark landing page; from the one PNG master, two JPGs are made — flattened onto white for the deck, onto black for the page — and neither shows a box or a fringe, because each was flattened onto the ground it actually sits on. The walkthrough's counterfactual is the familiar one: the first attempt used a single white-flattened JPG on both, and the dark page wore the white box that gives this conversion its search traffic. The fix cost one extra conversion and one remembered rule: the background is part of the image once flattened, so it is chosen per destination, from the master, every time.
Edge cases
Soft shadows under products. A drop shadow is semi-transparency doing design work; flattening onto the destination's true colour preserves it, flattening onto any other colour stains it. When the destination varies, PNG is the only honest delivery.
Screenshots of text. Keep them PNG. If a form forces JPG, convert at High and proof the smallest text in the result before submitting.
Already-flat PNGs. A PNG with no transparency converts with no background question at all — the choice only exists where alpha does.
Before you finish: the 60-second check
- Background chosen by the actual destination — white for light, black for dark
- Photographs converted; text, diagrams and hard-edged logos kept as PNG
- High (92%) used for photographs; the result proofed at display size
- The PNG master kept — every flattening is re-decidable from it
- Oversize results routed to the exact-KB compressor rather than re-converted at guesswork quality
Fair questions
Why did my transparent PNG get a white background?
JPG has no transparency, so transparent areas must be flattened onto a background before encoding. White is this tool's default — and the choice is yours: pick black if the image will sit on a dark destination, because the flattened colour becomes part of the image.
Will I lose quality converting PNG to JPG?
JPG is lossy, but at the High setting (92%) photographs look identical to the eye. Sharp-edged content — text, diagrams, logos — can haze at any setting, which is why line art should stay PNG.
Can I choose a black background instead?
Yes — white by default, black if you prefer. Choose by the ground the JPG will actually sit on: a logo flattened onto white and placed on a dark page shows a pale fringe, because the blend is baked in.
Can I convert a whole batch?
Yes — drop as many PNG files as you like. Each converts with the same settings; download them one by one or all together as a ZIP.
How much smaller will the JPG be?
For photographs, dramatically — often around a tenth of the PNG's weight, since PNG stores photos losslessly and heavily. Flat graphics shrink less and lose their edge advantage, which is the content rule: photos convert, line art stays.
Is my image uploaded?
No — the picture is decoded and re-encoded entirely on your device; your files never leave it.
Tool behaviour — the High (92%) / Balanced / Smaller quality settings, transparency flattened onto a chosen white or black background, batch conversion with ZIP download — is from PDFJadoo's own PNG to JPG page. Checked 18 November 2026.
Keep reading
JPG to PNG: the transparency myth
The reverse trip — and why it cannot create the alpha this one flattens.
PNG to WebP: transparent and smaller
Shrink the PNG without flattening anything: alpha survives.
Compress an image to an exact size
The converted JPG still over the form's cap? An exact KB, met.
PNG to PDF: screenshots in order
Screenshots bound losslessly instead of flattened into JPGs.